A year ago, I made the decision to travel for two weeks in Africa with my sister on Tucan Travel’s Gorillas and Game Tour. My thoughts immediately went to the amazing opportunities there would be for photography (and perhaps that we’d have lots of time to enjoy some African beer). My love of photography grew from my love of traveling. I have been studying it seriously for about seven years now (and shooting for pure enjoyment since I can remember!). My ultimate goal is always to capture the essence of a place in photographs so I can look back at my photos and remember how I felt being there.
As a portrait photographer, I was really excited to shoot people in the countries were were visiting. I was also excited to take photos of the animals and landscapes in Africa. I had no experience taking photos on a safari. An artist never stops learning and evolving in their craft, so I was excited to try photographing something new!
I researched safari photography before leaving, used some of my knowledge from my portrait skills and learned along the way. I used a full frame digital SLR with a zoom lens. If you have the option of lenses, I would highly recommend bringing a zoom lens (I used a 70-300 happily but would have loved to have been able to get even closer!) Regardless of the equipment you are using, here are some tips for capturing that “perfect” safari photo:
- Think about your composition.
Having a strong composition is something you can pay attention to regardless of your equipment. There are many things to think about when creating a composition, here are a few:
Rule of Thirds – The basic principal behind the rule of thirds is to break an image down into thirds (both horizontally and vertically). By placing your subject or point of interest on an intersecting point, you create a more balanced and interesting composition.
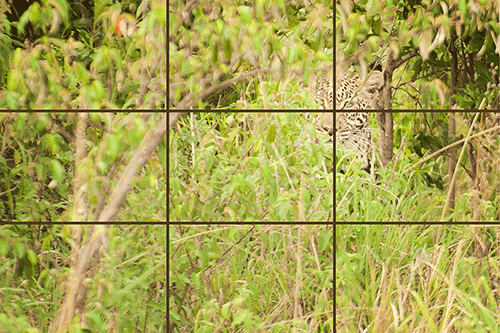
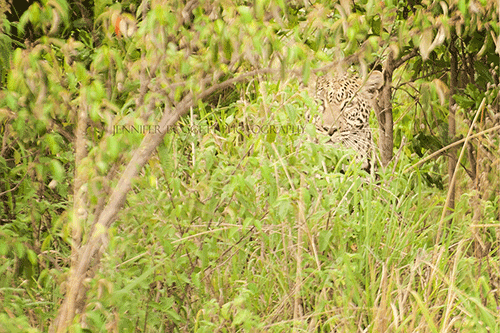
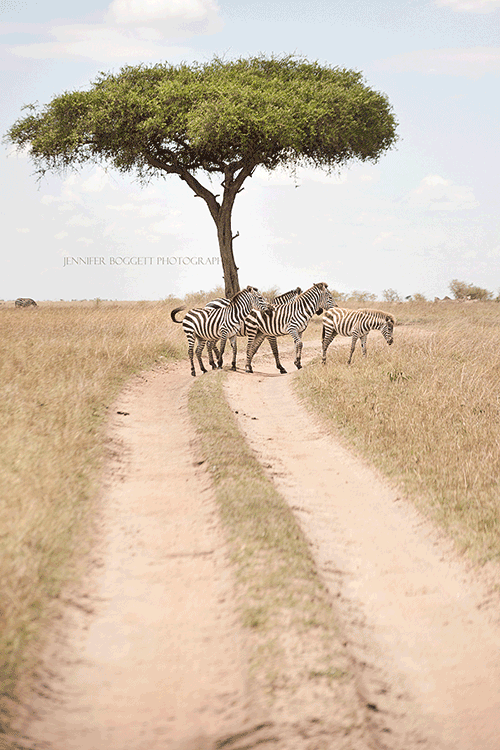
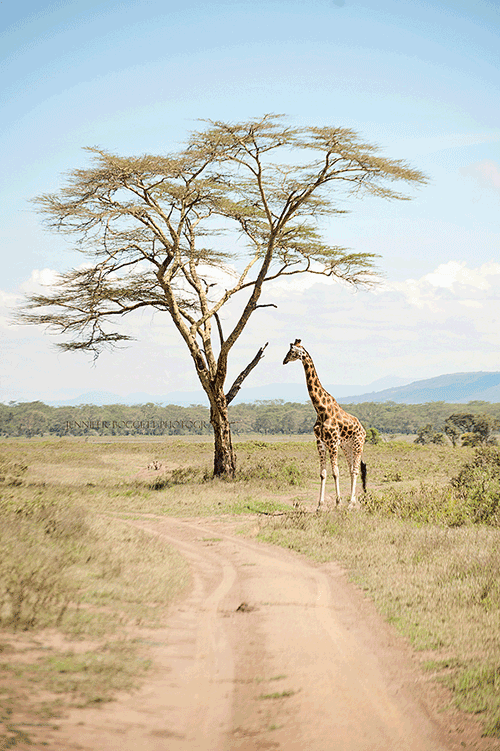
Leading Lines – The purpose of a leading line is to draw the viewers eye through the photo or to lead the viewer to the subject. Common leading lines are paths, fences, roads etc.
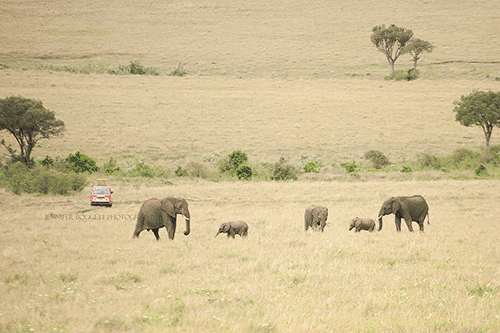
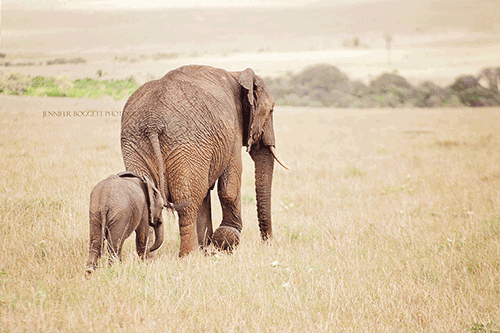
Simplify – If there is too much going on in a photo, we can lose the beauty of what we are trying to show. Simplifying involves focusing in on the subject. It can help to pay attention to what is behind the subject(s) (i.e. Is there clutter in the background that is distracting? (other jeeps? Buildings etc?) If you have the capabilities of shooting with a low aperture (so the subject is in focus), this can also help us to isolate and simplify. Focusing in on one part of a scene (i.e. A couple of elephant interacting) rather than the whole herd can create a stronger composition. The first photo doesn’t draw your eye in, where as the second one is much more interesting while still showcasing the environment and the elephants.
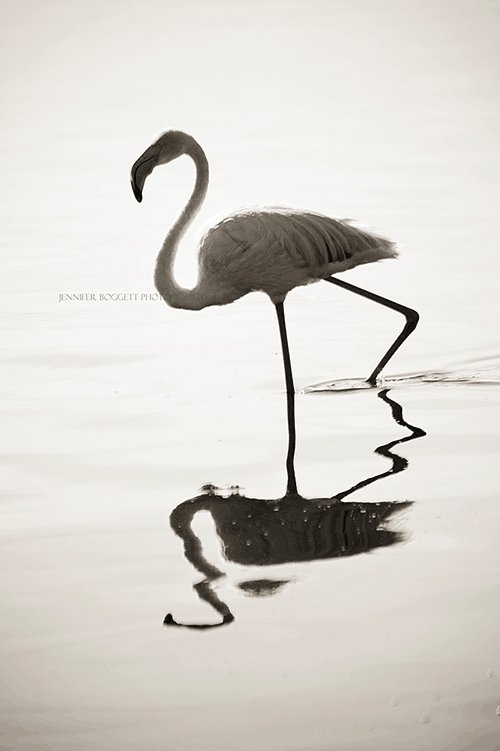
Symmetry – Finding symmetry in the environment helps us to create a sense of balance and harmony with our photos (which can be pleasing to the eye!) Reflections are a great way to incorporate symmetry into your captures.
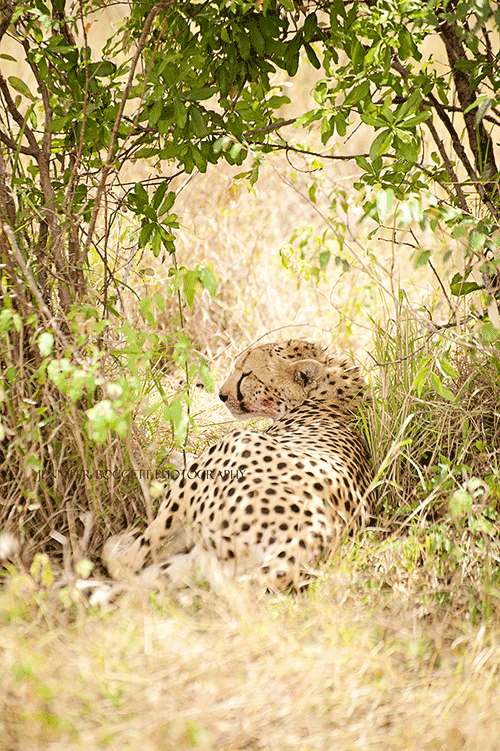
Framing – Framing involves using an object that acts as a frame or border around your subject. It can be used to direct the viewer to the subject we want them to look at and to create depth/show perspective.
- 2. Lighting
Whole books have been written on lighting so we’ll just discuss some of the basics here! When I was on my African tour most of the safaris were jeep safaris. This meant that I had very little control of the lighting – I couldn’t move around much or direct my subject into ideal light. I had to work with what we were given (which was fun!) Some things to keep in mind with lighting:
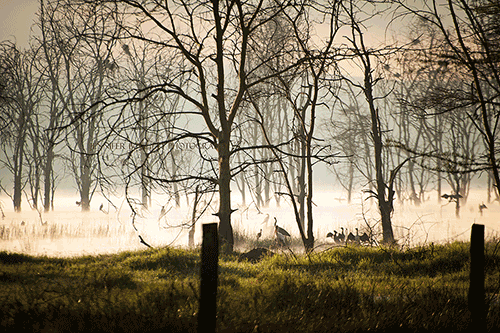
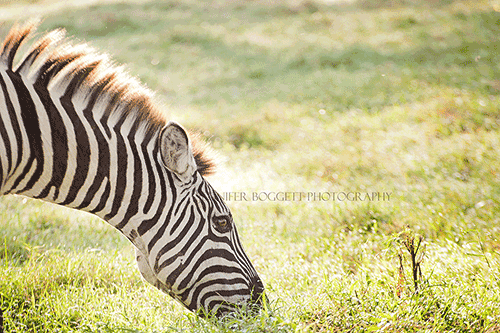
The “magic hour” for photography is the hour (ish!) after sunrise and before sunset. The lighting at this time is typically softer and warmer and makes for beautiful images. Luckily, most of our safaris started quite early so we could take advantage of this light!
Shade offers even lighting without hard shadows or bright highlights. When you have limited control over your settings, this is an easy light to shoot in. There were a number of shots that I waited for a cloud to cover the sun so to avoid strong shadows under the eyes of animals (or I would wait for the animal to walk into some shade and get my shot then). That being said, playing with bright sunlight is one of my favourite things to do in order to make a photograph interesting and unique!
3. Interaction
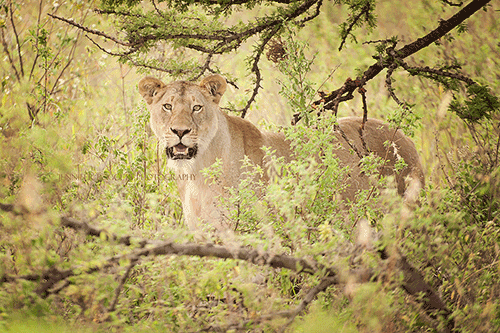
Think about the interaction between you and the subject or the subject and the environment. I would wait to get eye contact from an animal because it took me from being an observer to having a role in the photo. For me, it evokes more emotion when I look back on these photos. I feel like there was connection between the animal and myself (it quite possibly could have been the animal telling me to leave it alone!)
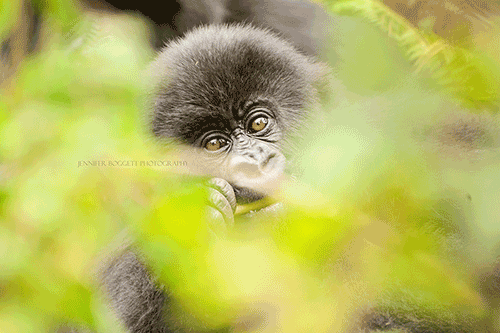
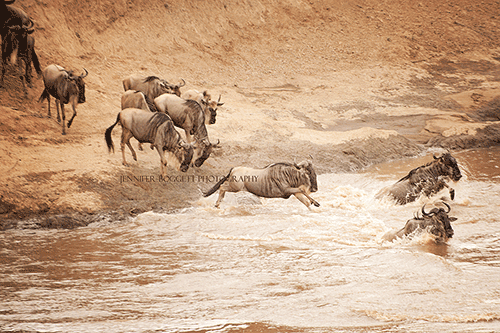
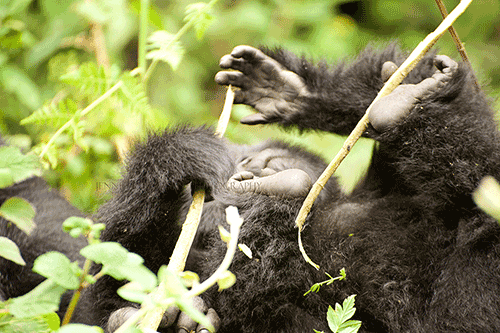
Interaction between the subject and it’s environment can also tell an interesting story. For example, the wildebeests jumping into the river during the migration or the little gorilla playing with a stick.
My final tip: don’t stress about the above suggestions! It would have been very easy to get caught up in getting the “perfect” photo (is that even possible?) I reminded myself often to just snap a photo and then put down the camera and enjoy being in Africa. It’s absolutely magical to get to see these animals in their habitat – you don’t want to spend the whole time behind your gear!
For more information on Jennifer Boggett’s work or to get a quote, visit www.jenniferboggett.com


I loved reading this! Great advice and beautiful photos! Now I want to go on a safari!
Therе is ɗefinately a great deal to learn about this isѕue.
I like all the points уоu have made.
Hi there friends, how іs aⅼl, and what you want to say
about this article, in my view its truly remarkable for
me.